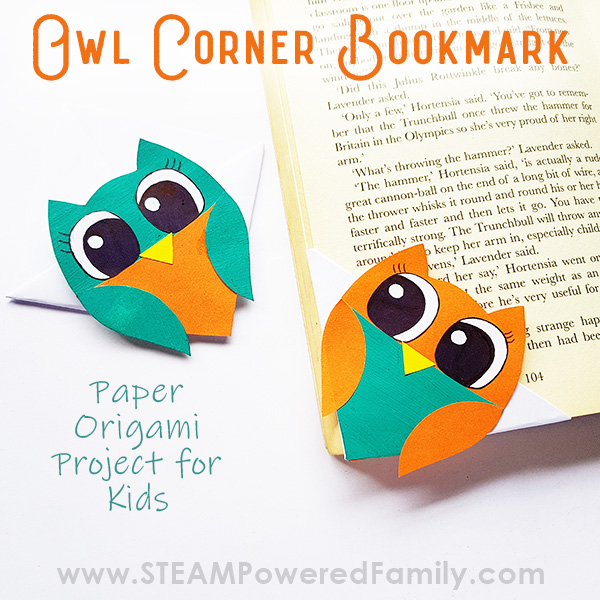
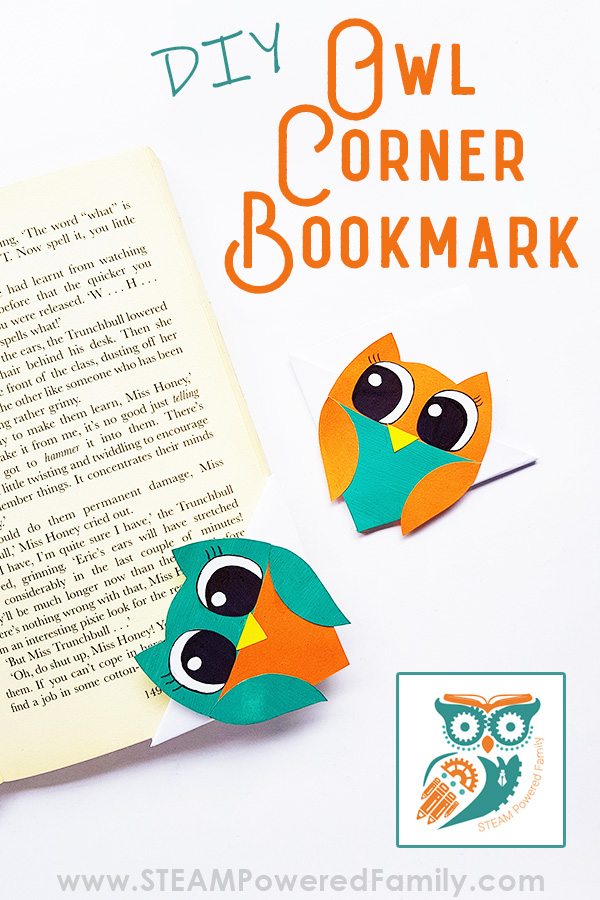
How to Make a Origami Owl Bookmark
Make reading time fun with these owl bookmarks kids can make themselves. This simple corner bookmark craft project can be easily customized to suit a specific book or interest or to personalize as a gift for someone special. A great project to do with kids of all ages. It is perfect for book club, summer camp, a reading challenge, library program or the classroom. Have kids customize their bookmarks with different colours and even different designs so their owl bookmark is as unique as them.
DIY BOOKMARK PROJECT FOR KIDS
What you will discover in this article!
Disclaimer: This article may contain commission or affiliate links. As an Amazon Associate I earn from qualifying purchases.
Not seeing our videos? Turn off any adblockers to ensure our video feed can be seen. Thanks!
I love these adorable little owl bookmarks! Inspired by our very own STEAM Powered Owl, these little guys are perfect for a kids' project inside or outside of the classroom.
I've always said, my biggest goal is to raise readers. If my kids can read, critically and with a high level of comprehension, I know they will be able to do anything in life. My oldest never struggled with reading, he self taught at 3 years old, but my youngest has dyslexia and for him reading has always been a struggle. We've been making some great progress with his reading lately using a new program, so I thought this would be a fantastic project to help him embrace reading even more. I mean who doesn't love an awesome bookmark?
We ended up doing this project together, and it was so much fun!
My oldest son made a whole series of these in different colours, then when he was doing some research he marked sections with different colours so he could quickly find and reference any information he might need. Normally he would have used Post It Notes or scraps of paper, but this was way cooler! And he had so much more pride because he made them himself.
Making this project also works on fine motor and scissor skills, and can be done by a large variety of ages. As long as they have basic scissor skills, this is a great project. Even adults will have fun making these for book club.
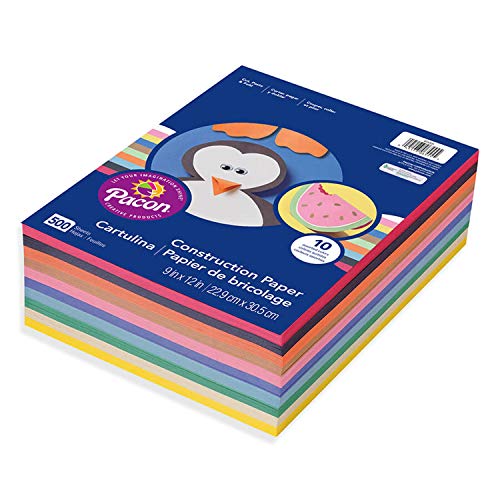
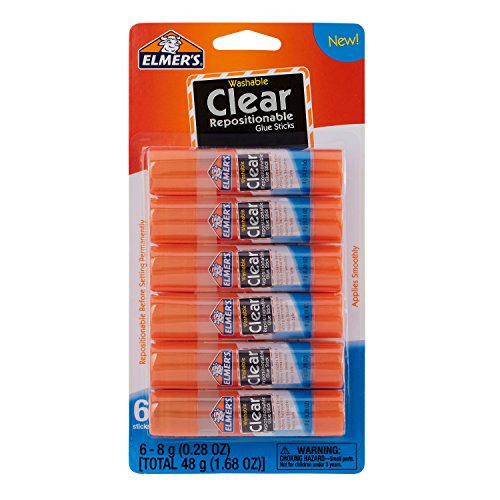
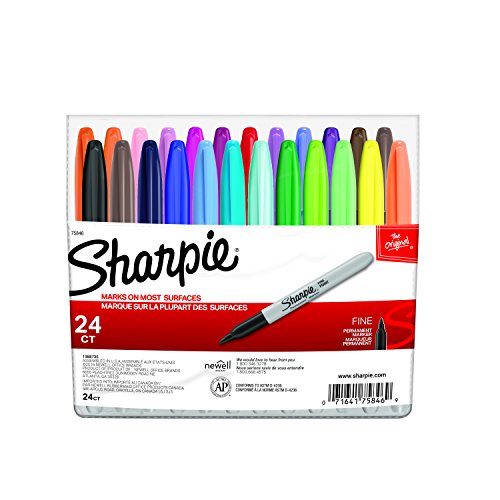
DIY OWL BOOKMARK SUPPLIES
Coloured craft paper (light weight is easier for younger kids, but heavy weight will create a more durable bookmark)
Pencil
Scissors
Craft glue or glue stick
Black Sharpie (we love our Sharpies!)
Owl template (or create your own design) – The template is available for free to members of the STEAM Powered Family. Enter your email here to get your copy instantly for free, plus access to even more fantastic free content!


HOW TO MAKE AN OWL CORNER BOOKMARK
Time needed:10 minutes.
Make sure you check out the video at the end of these instructions for images of each step. I know it helps me sometimes to see the visual of certain folds.
- Gather supplies
Gather up all your materials and get ready to create!
- Pick colours and cut base piece to size
Start by cutting out a square piece of paper. The size of the paper should be at least 4 inches x 4 inches. We used white in these pictures but you can use any colour that you like to make your bookmark special.
- Make a triangle
Fold the square paper in half, from one corner to its opposite diagonal corner. You will now have a triangle shape.
- Make the pocket
Fold the top corner of the front layer to the bottom by folding the front layer paper into half. This will create a pocket.
- Fold in the corner
Now, fold the bottom right corner of the triangle to the top corner. Fold half of its open end inside the pocket created in previous step.
- Final fold
Similarly fold up and fold in the bottom left corner. The corner bookmark is ready.
- Create your owl
Select the coloured papers for the owl. We picked our STEAM Powered Family colours, teal green and orange. Trace the owl patterns from the template onto the selected craft papers and cut them out with scissors. Chose whatever colours you want. Maybe you want two colours for your wings, a different body colour, use your imagination! Create fun, crazy pieces you can be proud of!
- Glue the owl together
With glue stick attach the triangular part on the bottom side of the main body cut out. Attach the 2 wings on both sides of the body.
- Add the owl face
Finally, glue on the eyes and the beak to complete the owl.
- Assemble the pieces
Now you are ready for finally assembly! Grab the corner bookmark and the paper owl. Match the closed end of the bookmark and the bottom corner of the owl. Now attach them together with a bit of glue.
- Let the glue dry
Once the glue dries, the bookmark will be ready to use.
VIDEO – HOW TO MAKE AN OWL CORNER BOOKMARK
More FOR READERS


How to Make a Origami Owl Bookmark
Source: https://www.steampoweredfamily.com/activities/easy-diy-owl-corner-bookmark/
0 Response to "How to Make a Origami Owl Bookmark"
Post a Comment